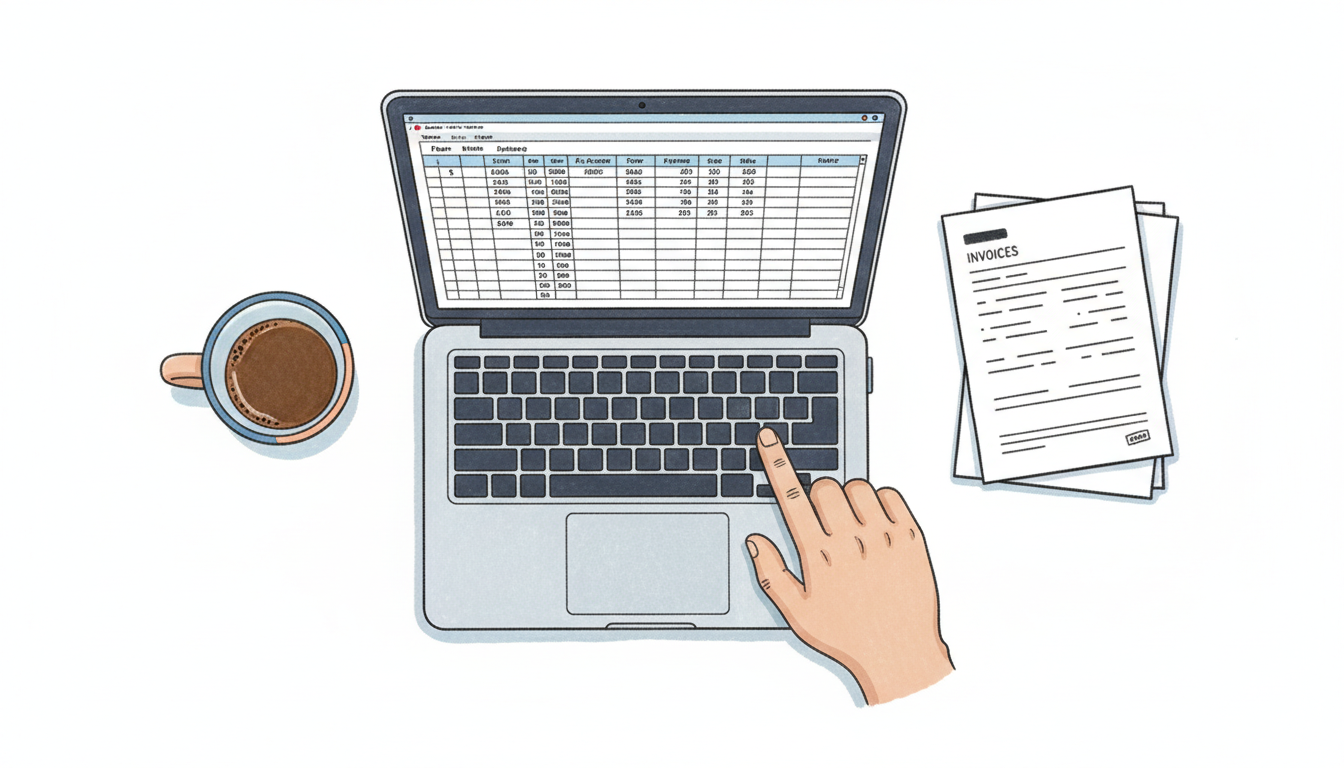
You need to export 8,000 orders for your accountant. You open WooCommerce’s built-in Analytics export and hit Download. It gives you nine columns: order number, status, customer name, net sales, and a few others. No shipping addresses. No phone numbers. No custom fields. Nothing your accountant actually needs.
So you install an export plugin instead. It has the columns you want, but now you’re hitting white screens. Or timeout errors. Or, worse, a half-finished file with 2,000 rows and no warning that 6,000 are missing.
Here’s how to export thousands of WooCommerce orders to CSV without timeouts, missing rows, or browser crashes.
Why WooCommerce CSV exports fall short
WooCommerce has two built-in export options, and neither works well for large stores.
The Analytics export (WooCommerce > Analytics > Orders) avoids timeouts by generating large CSVs as a background job and emailing you a download link. But it only exports about nine fixed columns. No shipping addresses, no phone numbers, no product details, no custom fields. If you need more than order number, status, and net sales, it’s useless.
The WordPress XML export (Tools > Export) includes more data but outputs XML, not CSV. And it loads everything into a single request, so it times out on large stores.
Most store owners end up with an export plugin that promises full control. Many of these plugins load all matching orders into memory in a single request, and that’s where the real problems start:
- PHP memory limit – Most shared hosts set this to 128MB or 256MB. A big export can need 512MB+.
- PHP execution time – Default timeout is 30 seconds. Exporting thousands of orders takes longer than that.
- Single-request processing – The entire export runs in one HTTP request. If anything goes wrong partway through, you get nothing (or a partial file).
Raising PHP limits helps, but it’s a band-aid. The real fix is an export tool that works in batches and gives you full control over columns.
How batch export solves the timeout problem
Instead of loading all 8,000 orders at once, a batch export processes them in chunks – say, 500 at a time. Each batch runs within normal server limits. When one batch finishes, the next starts automatically.
OrderFusion handles this for you. Every CSV export runs in batches behind the scenes, with a progress bar so you can see it working. You don’t need to touch PHP settings or call your hosting provider.
Here’s what that looks like:
- Go to WooCommerce > Orders
- Apply any filters you need (date range, status, payment method, whatever narrows your set)
- Open the Bulk actions dropdown
- Select Export All to CSV
- Click Apply
A progress bar appears above the orders list. Your browser downloads the CSV when it finishes. That’s it – no timeouts, no white screens, no partial files.

One rule: Keep the browser tab open during the export. If you close it, the export stops. For very large exports (tens of thousands of orders), this can take a few minutes.
Control what gets exported
The CSV file includes exactly the columns visible in your orders list. No more, no less.
Before exporting, go to Screen Options (top-right corner) and enable the columns you need. The CSV columns appear in the same order as your visible columns. Rearrange them in Screen Options if you want a different order in the spreadsheet.
This means you can create different export profiles just by changing your visible columns:
Accounting export: Order #, Date, Total, Payment method, Invoice number, Status
Fulfillment export: Order #, Products, Ship to, Shipping method, Phone
Marketing export: Order #, Email, Total, Products, Date
No need for separate export plugins or configuration screens. Toggle the columns, export. Done.
Filter first, export second
Don’t export everything and then filter in Excel. Filter in OrderFusion first, then export only what you need.
This matters for two reasons:
- Speed. Exporting 500 filtered orders is faster than exporting 10,000 and deleting rows in a spreadsheet.
- Accuracy. You won’t accidentally include orders that shouldn’t be in the report. No “oops, I sent the accountant refunded orders mixed in with completed ones.”
Common filter-then-export combos:
- Monthly accounting: Date range (last month) + Status (Completed) = clean revenue data
- Fulfillment batch: Status (Processing) = orders ready to ship, nothing else
- Quarterly report: Date range (Q1) + Status (Completed + Refunded) = gross and net revenue in one file
- High-value review: Order total ($500+) + Date range (this month) = VIP orders worth a closer look
Want to try this yourself? Install OrderFusion Lite (free) and start filtering orders in minutes. Need saved views, custom meta columns, or Products & Coupons page support? See OrderFusion Pro.
Pick the right CSV format
OrderFusion gives you two export formats. You pick one in WooCommerce > Settings > OrderFusion:
WooCommerce Style (grouped data) combines related fields. The “Order” column includes the order number and customer name together. Billing details and payment method share a column. More compact, but harder to sort in Excel.
Table Style (one column per field) separates everything. Customer name gets its own column. Payment method gets its own column. Shipping method gets its own column. This is the one you want if you’re doing any sorting, filtering, or pivot tables in your spreadsheet.
For most stores, Table Style is the better choice. Accountants want separate columns. Fulfillment partners want separate columns. If you’re importing into another system (QuickBooks, Xero, a courier’s bulk upload), separate columns mean fewer manual steps.
Tune batch size for your server
The default batch size is 500 orders per batch. For most servers, this works well. If your exports feel slow or your hosting is limited, you can adjust this at WooCommerce > Settings > OrderFusion.
Lower the batch size (200-300) if:
– You’re on shared hosting with tight memory limits
– Your orders have many custom meta fields or product line items
– Exports occasionally stall
Raise the batch size (750-1000) if:
– You’re on a VPS or dedicated server with generous resources
– You want faster exports and your server handles it
– You’ve tested with a large export and had no issues
Start with the default. Only adjust if you have a reason to.
Build a reusable export workflow with views
If you export the same report every week or month, stop reconfiguring columns and filters each time. Save the setup as a custom view.
Here’s a practical example for a monthly accounting export:
- Set your columns: Order #, Date, Total, Payment method, Invoice number, Status
- Set your filters: Date Preset (Last month), Status (Completed)
- Save as a view named “Accounting – Monthly”
Next month:
- Load the “Accounting – Monthly” view (one click)
- Export to CSV
Two clicks. Same report, every month, with the same columns in the same order. The Date Preset recalculates automatically, so “Last month” always means last month. No missed fields, no extra data. Hand the file to your accountant and move on.
You can build these for any recurring report: fulfillment batches, quarterly reviews, marketing exports. Each view remembers the exact column set and filter combination.
Checklist: exporting from a store with thousands of orders
Here’s the full process, start to finish:
- Pick your format. Go to WooCommerce > Settings > OrderFusion. Choose Table Style for spreadsheets, WooCommerce Style for compact reports.
- Set your columns. Screen Options > enable only the columns you need.
- Filter your orders. Apply date range, status, or any other filters to narrow the set.
- Export. Bulk actions > Export All to CSV > Apply.
- Wait for the progress bar. Don’t close the tab.
- Open the file. Double-click to open in Excel, or upload to Google Sheets.
If you export the same report regularly, save the column + filter combo as a view. Use a Date Preset filter instead of a manual date range – it recalculates automatically. Next time, load the view and export.
Your export tool should work as hard as you do
WooCommerce’s built-in export gives you nine columns and no flexibility. Export plugins give you columns but crash on volume. If you have thousands of orders, you need batch processing, column control, and filters that narrow exports before they start.
OrderFusion handles all three. Try it in the demo – load the orders screen, toggle some columns, apply a filter, and run an export. You’ll see the progress bar, the batch processing, and the clean CSV output.
Or, if you want the step-by-step setup, check the OrderFusion documentation for column configuration, filter options, and view management.